There’s nothing worse than that squelching sound your boot makes halfway through a 10-hour shift—except maybe the $200 price tag to replace the boots you just ruined.
We’ve all been there. You step in a puddle that’s deeper than it looks, or you’re working in wet concrete, and suddenly your socks are soaked. It’s miserable. But the problem isn’t just uncomfortable feet. Water is the enemy of your boots. It rots leather, destroys internal insulation, creates electrical hazards, and turns your expensive footwear into a breeding ground for bacteria.
Research shows that water-saturated leather can add up to 1.5 pounds to your feet—that drags you down and burns energy you need for the job.
The solution is regular maintenance. But here’s the catch: choosing the wrong method can actually ruin your boots. Slapping heavy wax on a breathable Gore-Tex hiker will turn it into a plastic bag, while spraying a heavy-duty logger boot might just be a waste of money.
I’ve combined tips from professional cobblers, material scientists, and real-world field testing to give you the definitive guide on waterproofing. Let’s save your boots (and your feet).
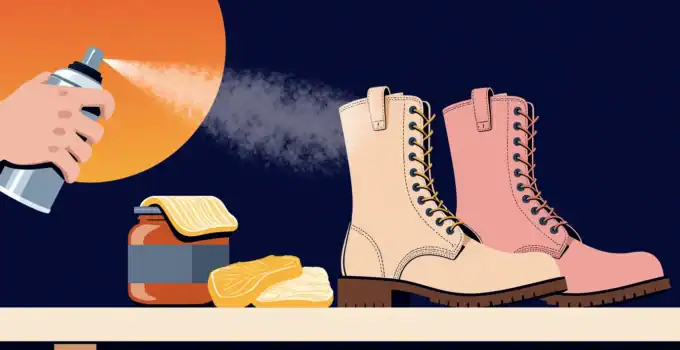
how to waterproof leather work boots with wax
1. Understanding Boot Construction: Why They Leak
You can’t fix a leak if you don’t know where it’s coming from. Most people blame the leather, but leaks usually happen at the stress points.
- The Upper: This is the main body of the boot. If it’s leather, it has pores. If those pores aren’t sealed, water walks right in.
- The Welt/Seams: This is the junction where the upper meets the sole. This is the #1 leak zone. As you walk, the boot flexes here, opening and closing tiny gaps that suck in water.
- The Gusset: That folded leather connecting the tongue to the boot? It collects water. If you don’t treat deep into those folds, water will seep in over the top of your foot.
Leak Diagnostics: If you see gaps in your stitching or the sole is pulling away (delamination), no amount of wax will fix it—you need glue or a cobbler. But if the leather is just wetting out (turning dark and absorbing water), it’s time to waterproof.
Quick Material ID Guide (Know Before You Go)
Before you buy product, check your boots.
- Full-Grain Leather: Smooth, thick, shows natural grain. Needs Wax.
- Nubuck/Suede: Fuzzy texture, matte finish. Needs Spray.
- Synthetic/Mesh: Nylon panels, uniform texture. Needs Spray.
- Oil-Tanned: Darkens instantly when you press your thumb on it. Needs Oil/Wax Hybrid.

how to waterproof work boots
2. Wax vs. Spray: The Complete Comparison
Don’t overcomplicate this. Use the chart below to make the right call for your gear.
| Feature | Wax Waterproofing | Spray Waterproofing |
|---|---|---|
| Best Material | Smooth, Full-Grain Leather | Suede, Nubuck, Synthetics, Gore-Tex |
| Protection Duration | 4–8 Weeks (Heavy Use) | 1–3 Weeks |
| Water Resistance | Maximum (Heavy Duty) | Moderate (Repels Rain) |
| Breathability Impact | Reduced by 30-40% | Minimal Impact |
| Conditioning | Excellent (Prevents Cracking) | None |
| Application Time | 30-45 Minutes | 5-10 Minutes |
| Cost Per Year | $10–15 | $30–50 |
The Decision Flowchart
- Smooth, Full-Grain Leather? → Use Wax.
- Suede, Nubuck, or “Roughout”? → Use Spray.
- Gore-Tex / Breathable Membranes? → Use Spray (specifically labeled DWR).
- Mixed Materials (Fabric + Leather)? → Use a Hybrid Approach (Wax the leather, Spray the fabric).
3. Pre-Treatment Preparation: The Make-or-Break Step
The Golden Rule: Never waterproof a dirty boot.
If you wax over dirt, you are trapping grit inside the pores. As you walk, that grit acts like sandpaper, grinding the leather fibers from the inside out until your boots crack.
The Deep Cleaning Protocol:
- Remove Laces: Don’t be lazy. Take them off so you can get to the tongue gusset.
- Dry Brush: Use a stiff horsehair or nylon brush to knock off caked-on mud.
- Material-Specific Wash:
- Smooth Leather: Damp rag and saddle soap.
- Suede/Nubuck: Specific suede cleaner or vinegar/water mix.
- The Seam Clean (Critical): Use a toothpick or dental tool to dig caked mud out of the welt stitching. This is where most leaks start.
Dry Time & The “Press Test”:
Stuff boots with newspaper and let them air dry for 24 hours. Do not use heat. To check if they are ready, press your thumb firmly into the leather. If it leaves a dark spot that doesn’t fade in 10 seconds, the leather is still too wet to treat.
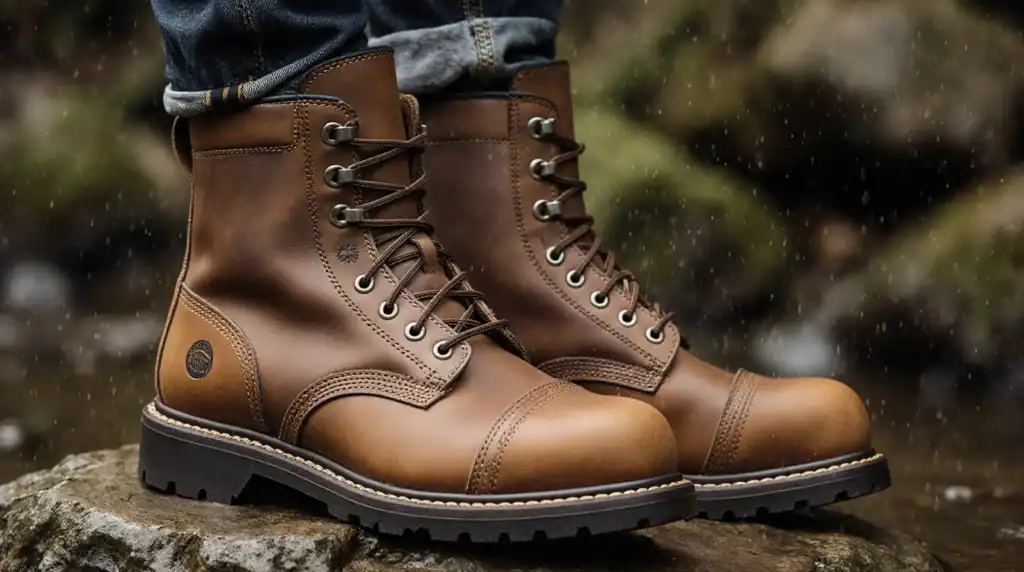
4. Method A: How to Waterproof Leather Work Boots with Wax (Step-by-Step)
If you’re rocking heavy-duty leathers like Red Wings, Thorogoods, or PNW logger boots, this is your method.
What You’ll Need: Clean rags, Wax, Hair Dryer.
Top Recommended Wax Products
- Sno-Seal: The gold standard for wet/snowy conditions. Beeswax-based.
- Obenauf’s Heavy Duty LP: Best for wildland firefighting and extreme heat; deeply conditions.
- Huberd’s Shoe Grease: A classic pine-tar formula that softens tough leather (great for break-in).
Step 1: Warm the Boots
Wax works best when the leather pores are open. Place clean, dry boots in a warm room or the sun. You want them warm to the touch, not hot.
Step 2: The Application
You can use a rag, but honestly, your bare hands work best. The heat from your hands helps melt the wax. Scoop up a nickel-sized chunk and massage it into the leather.
Step 3: The Critical Zones (Where You Must Double Down)
Don’t just slap it on the toe.
- The Welt: Jam wax directly into the groove where the leather meets the sole. Make 3–4 passes here.
- The Stitching: Coat threads heavily; threads act like wicks that pull water inside.
- The Tongue Gusset: Extend the tongue fully and wax deep into the folds.
Step 4: Heat Set (Pro Tip)
Once coated, the boots will look hazy. Take a hair dryer on a LOW setting (hold 6–8 inches away) and gently warm the wax. Watch it liquefy and disappear into the leather. The leather should “drink” it up. Do not overheat.
Step 5: Cure & Buff
Let them sit overnight. If there is excess sticky wax in the morning, buff it off with a clean rag.
5. Method B: How to Waterproof Suede & Synthetic Boots with Spray
For the hikers, the suede lovers, and the Gore-Tex wearers.
What You’ll Need: Waterproof Spray, Newspaper.
Top Recommended Spray Products
- Nikwax Fabric & Leather Proof: Water-based, environmentally friendly, and safe for Gore-Tex.
- Kiwi Camp Dry: Heavy-duty silicone protection (best for tents and non-breathable gear).
- Scotchgard Heavy Duty: Reliable all-rounder for synthetics.
Safety: Do this outdoors. The fumes from solvent-based sprays are nasty.
Technique:
- Shake the Can: Mix the active ingredients thoroughly.
- Distance: Hold the can 6–8 inches away from the boot.
- Sweeping Motions: Don’t soak one spot. Use long, even sprays for a uniform coat.
- The Double Coat (Mandatory): One coat is rarely enough. Apply one light coat, wait 20 minutes for it to dry, and apply a second coat.
Special Note for Gore-Tex: If your boots have a waterproof membrane inside (like Gore-Tex), you must use a spray labeled “breathable” or “safe for membranes.” Heavy wax blocks the outer leather so thoroughly that sweat vapor can’t escape, leading to swamp foot.
6. Maintenance Schedule & Environmental Factors
How do you know when it’s time to re-apply?
The Bead Test:
Sprinkle some water on the toe of your boot.
- Beads up and rolls off? You’re good.
- Darkens the leather (wets out)? The shield is down. Re-treat immediately.
Usage-Based Schedule:
- Heavy Daily Use (Construction): Wax every 3–4 weeks. Spray every 10–14 days.
- Moderate Use (Weekend Warrior): Treat seasonally (Start of Winter, Start of Spring).
- Light Use: Treat once a year before storage.
Environmental Adjustments:
- Salt Exposure: Salt chemically burns leather. If you work in snow/salt, clean and re-treat immediately.
- Wet Climates (PNW): Double the frequency. Consider a “Double Wax” approach.
- Extreme Cold: Wax can stiffen in freezing temps. Apply thinner coats to prevent cracking.
7. Advanced Tips from the Pros
- The DIY “Old Timer” Blend: Want to save money? Melt 2 parts pure beeswax with 1 part Neatsfoot oil in a double boiler (never over open flame). Pour into a tin to cool. You get the waterproofing of wax with the conditioning of oil for pennies on the dollar.
- The Freezer Trick: Got old, caked-on wax that looks terrible? Put your boots in the freezer for 2 hours. The wax will become brittle and you can chip it off easily with a dull knife before re-treating.
- The Duct Tape Field Repair: If you get a gash in your boot mid-shift, dry the area and slap a piece of duct tape over it. It’s ugly, but it keeps water out until you can get home to glue it properly.
- The Welt Conditioner Trick: Mix a little leather conditioner with your wax just for the welt seam. This keeps that crucial flex point from getting too stiff and cracking, while still keeping water out.
- Sock Synergy: Don’t blame the boot if you’re wearing cotton socks. Cotton holds sweat against your skin. Switch to Merino wool to wick moisture away; your waterproofing works better when your feet are dry from the inside, too.
- Boot Dryers: Use a gentle (no-heat or low-heat) boot dryer. Putting boots on the dryer before waxing warms them up perfectly for application.
8. Troubleshooting: Is It a Leak or Sweat?
The Sweat vs. Leak Test:
If your feet are wet, it might be condensation, not a leak.
- Wear the boots indoors for 2 hours with thick socks.
- If your feet feel wet, it’s sweat/breathability issues.
- If they stay dry inside, but get wet outside, you have a leak.
Common Fixes:
- Sticky Residue: You applied too much wax. Heat gently with a hair dryer and wipe away excess.
- White Film: You sprayed too close. Wipe immediately with a damp cloth.
- Boots Smell Chemical-y: Let them off-gas in a garage for 48 hours before bringing them inside.
9. When to Replace vs. Repair
Sometimes, no amount of wax can save a dead boot.
Repair (Resole) If:
- The leather upper is intact (no deep cracks or holes).
- The boot is Goodyear Welted (stitched, not glued).
- The repair cost is less than 50% of a new pair.
- Green Tip: Resoling keeps 2–4 lbs of waste out of landfills.
Replace If:
- The leather is cracked all the way through.
- The welt stitching is more than 75% degraded.
- There is mold growing inside the lining.
- Safety features (Steel Toe/Met Guard) are compromised.
Frequently Asked Questions
Q: Can I use wax on suede boots?
A: No. Wax will ruin the nap texture permanently, creating a smooth, dark, greasy surface. Always use spray for suede and nubuck.
- Q: How often should I waterproof work boots?
- A: For heavy daily use, apply wax every 3–4 weeks. For moderate use, treat them seasonally (before winter and spring).
- Q: What’s the best waterproofing for Gore-Tex boots?
- A: Use only DWR-labeled sprays (like Nikwax) to maintain breathability. Avoid heavy waxes or silicone, which clog the membrane.
- Q: Can I speed up drying time with a heater?
- A: No. Direct heat damages leather fibers and melts adhesives. Always air dry for 24 hours minimum using newspaper to absorb moisture.
- Q: How do I remove old wax buildup?
- A: Use the freezer method: freeze boots for 2 hours, then chip off the brittle wax. Clean with saddle soap before re-applying.
Conclusion
Waterproofing isn’t just a chore; it’s a ritual that protects your investment. If you’re on a job site with heavy leather boots, grab the wax and muscle it in for maximum durability. If you’re hiking or wearing suede, grab the spray to keep things breathable and light.
Don’t wait until your socks are wet. Go perform the Bead Test on your boots right now. If they fail, you’ve got your project for the weekend. Your feet will thank you on Monday morning.


: Ultimate Comfort Guide")

: 5 Picks for Loggers, Ironworkers & Outdoor Tradesmen")

: All-Day Comfort Straight Out of the Box?")
