
Hey, finding that perfect pair of shoes only to realize they are flopping around on your feet is the worst, especially if they were a final sale score. The "Clown Shoe" Dilemma. You’re walking around with that “clown shoe” feeling, and nobody wants that.
The good news is, for shoes that are only slightly too big—say, about a half-size—you absolutely have options. Here is some honest advice on how to tighten up the fit without wrecking your kicks.
This advice works best for materials that react well to water and heat: natural materials like leather, suede, and canvas. Be extra cautious with synthetics or plastics, as harsh heat can warp them.
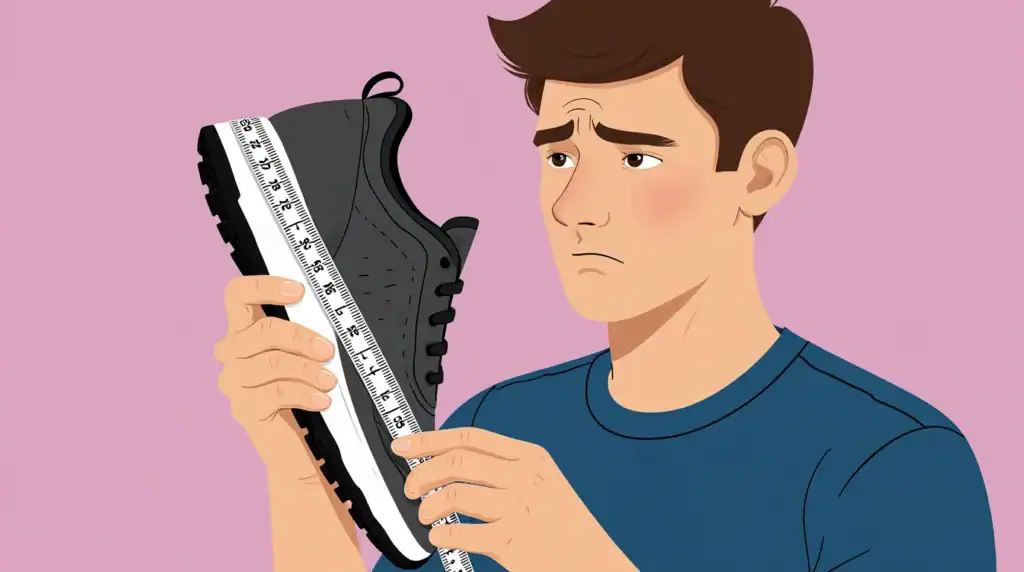
The "Fake Shrink" vs. The "Real Shrink"
There are two fundamental ways to deal with shoes that are too big:
- Physical Shrinking (High Risk, High Reward): Using heat and water to actively tighten the fibers of the material itself, causing the shoe to contract.
- Volume Filling (Low Risk, 100% Safe): Using inserts, pads, or thick socks to fill up the empty space inside the shoe so your foot feels snug.
Method 1: The Water & Heat Trick (For Leather Boots/Shoes)
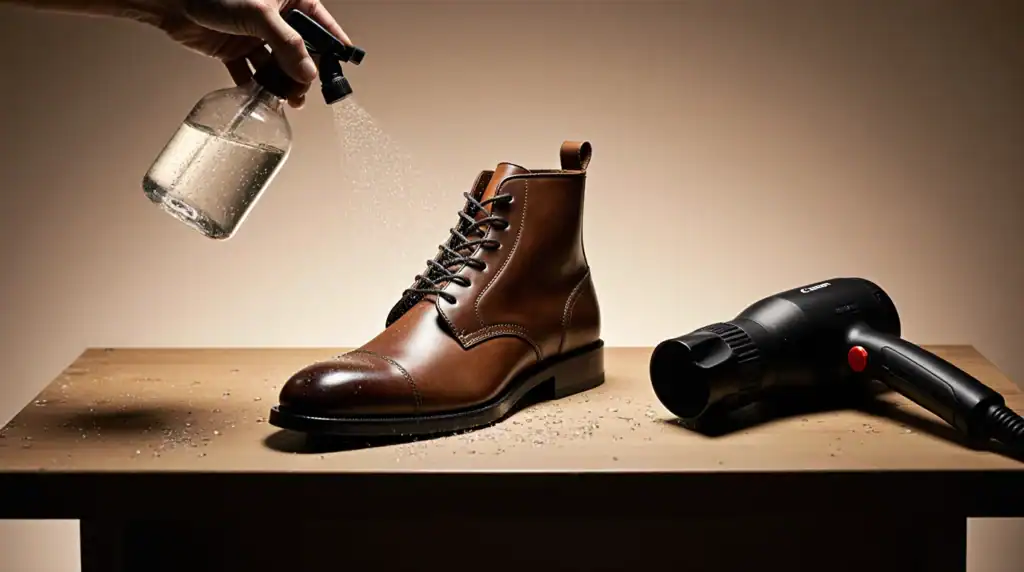
Leather is essentially animal skin, and it will contract as it dries out. When heat is applied, the leather fibers contract as moisture evaporates.
The Process:
- Dampen: Lightly mist the leather using a spray bottle or damp towel. You want a sheen, not dripping wet.
- Heat Gently: Use a blow dryer set to medium heat. Keep the dryer moving constantly, about 6 inches away, focusing on loose zones. Work in short passes (2–3 minutes).
- Mold: Try the shoes on while they are still warm so they can mold snugly to your foot shape.
- Repeat: If they are still roomy, repeat the process once or twice.
⚠️ Mandatory Aftercare: Heat dries out leather's natural oils. You MUST condition them immediately afterward to prevent cracking. Let them rest overnight away from direct heat.
Method 2: The Dryer Method (For Canvas/Vans/Converse)
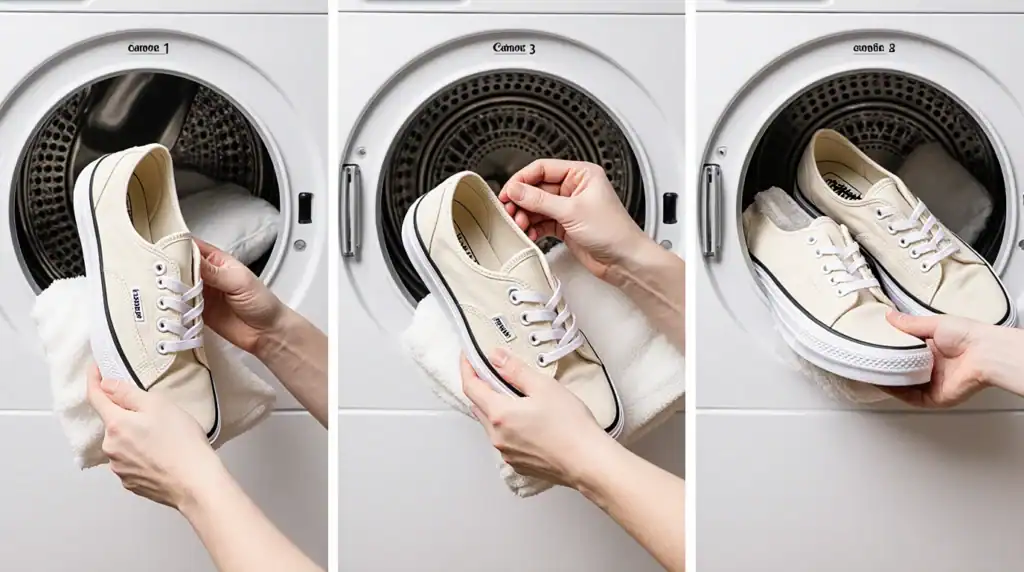
Canvas is cotton, and cotton shrinks dramatically when exposed to hot water and heat.
The Process:
- Prep: Remove insoles and laces.
- Soak: Soak the shoes in cool water until wet, then wring out excess so they are just damp.
- Tumble Dry: Toss them in the dryer on Low/Medium heat for 10-15 minutes. Use a pillowcase or towels to cushion the noise.
- Check Often: Stop as soon as they feel snug. Canvas relaxes when you wear it, so don't overdo it.
- Air Dry: Let them finish drying at room temperature.
The Risk: Excessive heat can melt the glue holding the sole to the upper. Do not walk away and leave them for an hour.
Method 3: The "Boil" Method (For Crocs/EVA Foam)
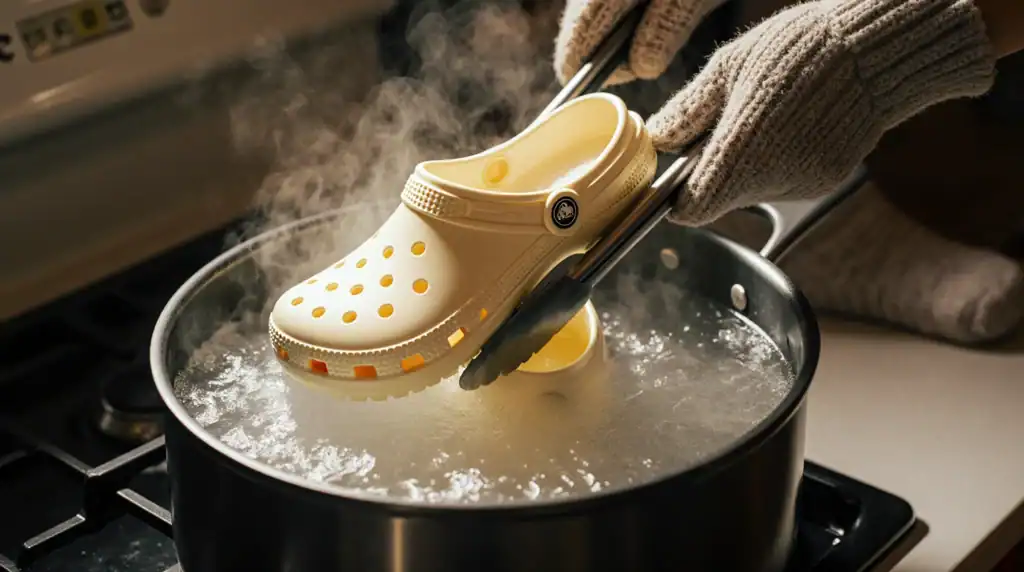
This method targets shoes made of EVA foam (like Crocs), which react quickly to moist heat.
The Process:
- Boil a pot of water.
- Submerge the Crocs for approximately 45 seconds.
- Carefully remove them (use tongs!).
- Wear them immediately (with thick socks to avoid burns!) to mold them to your foot size as they cool.
Method 4: The "Volume Fill" (The Safer Way)
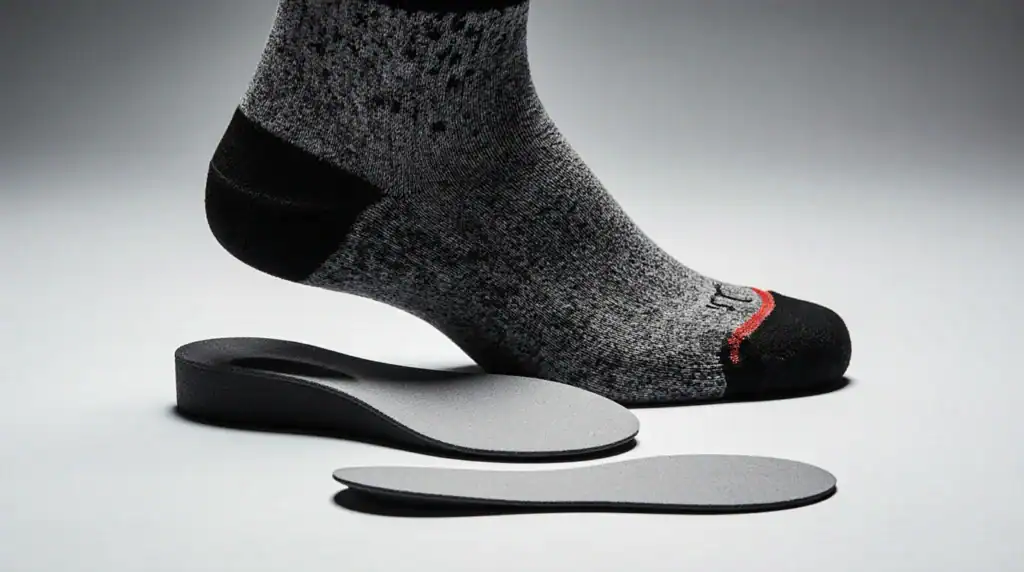
If you have expensive shoes, delicate suede, or synthetics that might melt, skip the heat. You cannot shrink these safely. Instead, fill the void.
A. Thick Socks
The easiest fix. Wearing full cushion merino wool hiking socks can take up about a quarter size of space.
B. The Insole Sandwich
Adding a cushioned insole takes up vertical space.
- Put a thick foam insole on top of the original.
- Or, place a thin flat insole underneath the original removable liner. This lifts your foot into the tighter part of the upper.
C. Heel Grips & Tongue Pads
For targeted looseness, these are secret weapons.
- Heel Grips: Cushioned strips inside the heel to stop slipping.
- Tongue Pads: A foam pad that sticks under the tongue. It pushes your foot back into the heel cup, locking the fit.
What NOT To Do (Anti-Recommendations)
- ❌ The Oven or Microwave: Do not do this. Uncontrolled heat will melt the rubber soles and the glue long before the leather shrinks.
- ❌ Leaving them in the Sun: UV rays damage leather and fade colors. It's risky and ineffective.
- ❌ Hair Dryer Too Close: Holding a blow dryer against the material will burn it. Keep it moving.
Decision Tree: Which Method Should You Use?
| If Your Shoes Are... | Use This Method | Honesty First Tip |
|---|---|---|
| Leather Boots/Loafers | Spray Bottle + Blow Dryer (Method 1) | You MUST condition immediately after. |
| Canvas (Vans/Converse) | Dryer Machine (Method 2) | Watch out for glue damage; check often. |
| Crocs/EVA Foam | Boiling Water (Method 3) | Wear socks to mold the hot foam safely. |
| Expensive Dress Shoes | STOP. Do not use heat. | Use Insoles & Tongue Pads (Method 4). |
Conclusion
You absolutely can tighten up a slightly loose fit using these methods. It's perfect for that half-size gap or stretching that happens over time.
Final Advice: If the shoe is more than one full size too big, heat and inserts won't perform miracles. Trying to force a major size change will likely ruin the shoe. If they are genuinely too big, life is too short for tripping over your own toes—sell them and buy the right size.