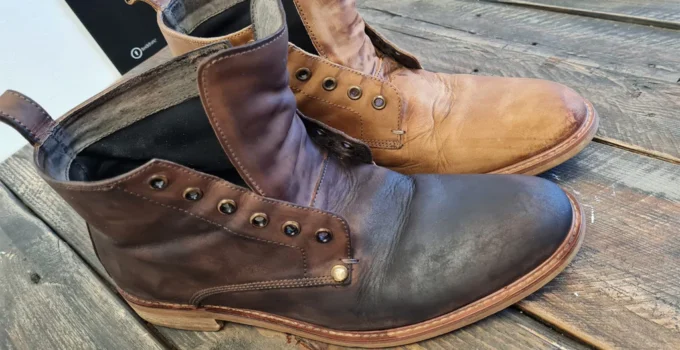
Eager to revitalize those faded leather boots sitting in your closet? Ready to completely change the color of your favorite shoes? You’ve come to the right place. Dyeing leather is a transformative process that can restore an old pair to its former glory or give it a brand-new, custom look.
Unlike paints, which coat the surface, leather dye permanently stains the material by penetrating its fibers. This creates a deep, rich, and durable finish that won’t chip or peel. This guide will walk you through the entire process, from preparation to the final seal, ensuring you get a professional result at home.
Part 1: The Essentials – Before You Begin
Success is all in the preparation. Before you open a single bottle of dye, let’s cover the essentials.
What Leather Can You Dye?
Dye works best on absorbent leathers. It’s crucial to identify your material, as dye will not work on certain types.
- ✅ Ideal for Dyeing: Smooth, “full-grain” or “top-grain” leathers are perfect. Vegetable-tanned (veg-tan) leather is the most absorbent and easiest to dye.
- ❌ Do Not Dye: Suede or nubuck. These require special suede-specific dyes and a different process.
- ❌ Very Difficult to Dye: “Genuine leather” or “bonded leather” often has a synthetic coating that blocks dye. Waterproof or patent leathers will also resist dye completely.
Pro Tip: Put a single drop of water on an inconspicuous spot (like the boot’s tongue). If it soaks in, the leather will likely accept dye. If it beads up and rolls off, the leather has a sealant that will be very difficult to remove.
Choosing the Right Leather Dye
Forget generic craft store dyes. For boots and shoes, you need a dye designed for leather. There are three main types:
- Alcohol-Based Dyes: (e.g., Fiebings Leather Dye) These are the most common. They are vibrant and dry very fast. However, their fast-drying nature can sometimes lead to streaks if you’re not careful.
- Oil-Based Dyes: (e.g., Fiebings Pro Dye) A favorite among professionals. These are alcohol-based but with more oil, allowing them to penetrate deeper and provide a more supple, uniform finish. They are more forgiving to apply.
- Water-Based Dyes: (e.g., Angelus Leather Dye) These are user-friendly, have low odor, and are easy to clean up. They are excellent for beginners but may not be as penetrative on factory-finished leather.
What You’ll Need: The Ultimate Checklist
Gather all your supplies before you start. There’s nothing worse than having one stripped boot and realizing you’re missing the dye.
- ✅ High-quality leather dye (Alcohol, Oil, or Water-based)
- ✅ Leather Preparer & Deglazer (Absolutely essential. Rubbing alcohol can work in a pinch)
- ✅ Disposable gloves (A must! Dye will stain your skin for days)
- ✅ Wool daubers or a high-density sponge for application
- ✅ Soft, lint-free cloths (old t-shirts work perfectly)
- ✅ Masking tape (for protecting soles and hardware)
- ✅ Leather conditioner (like Mink Oil, Neatsfoot Oil, or Saphir Renovateur)
- ✅ Leather finisher/sealer (like Angelus Acrylic Finisher or Fiebings Resolene)
- ✅ Drop cloth or newspaper to protect your workspace
Part 2: How to Dye Your Leather Boots – The Step-by-Step Process
This is the definitive, chronological guide. Follow these steps precisely, and you can’t go wrong.
Step 1: Set Up Your Workspace
Work in a well-ventilated area, like an open garage or outdoors on a calm, warm day. Dye fumes can be strong. Lay down a drop cloth or newspaper to protect your surfaces from stains.
Step 2: Clean & Strip the Leather
This is the most important step. You cannot skip it. New or old, all leather shoes and boots have a factory finish (waxes, oils, sealants) that will block the dye. You must remove it.
- Put on your gloves.
- Apply your Leather Preparer & Deglazer to a clean cloth.
- Scrub the entire surface of the boot in small, circular motions. You will see the original color and finish start to come off on the cloth. This is good!
- Continue until the entire boot has a dull, slightly tacky finish. Let it dry completely (about 15-30 minutes).
- Use masking tape to carefully tape off the boot’s sole, heel, and any hardware (like eyelets or zippers) you don’t want to dye.
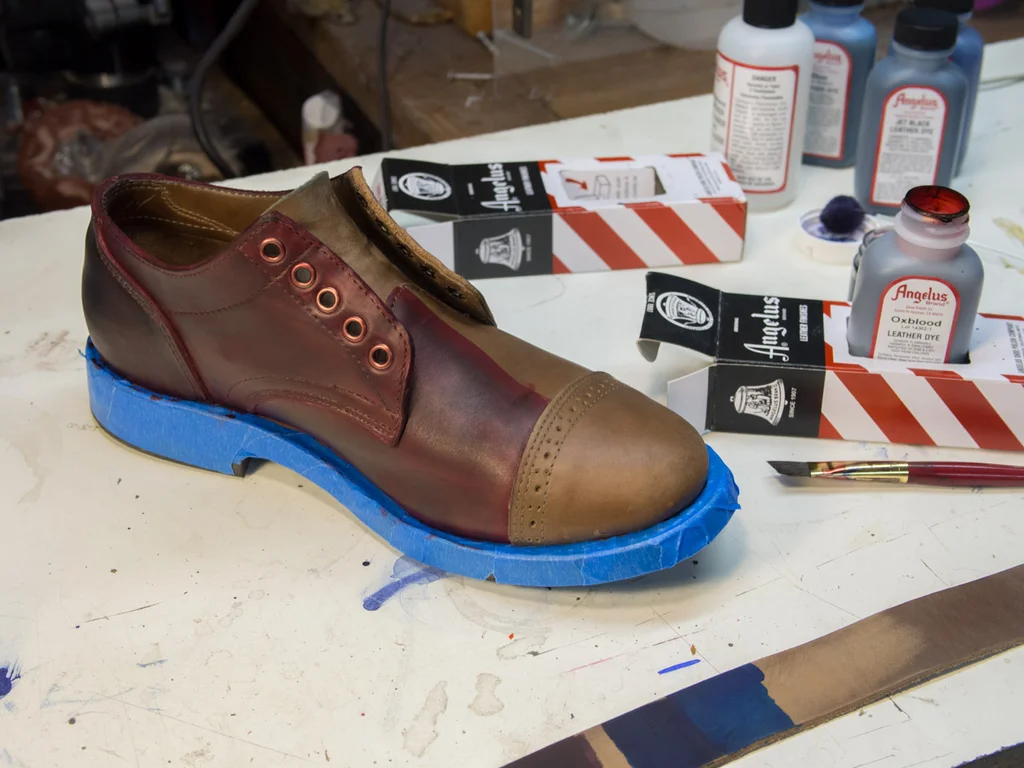
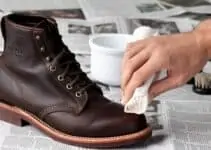
Applying the first coat of dye to a prepared leather shoe.
Step 3: Apply the Leather Dye
It’s time for the transformation. Remember: it’s always easier to go darker than lighter. You cannot dye a black boot tan.
- Shake your dye bottle well. Pour a small amount into a separate dish.
- Dip your wool dauber or sponge into the dye and squeeze out any excess. You want a damp applicator, not a dripping one.
- Apply the dye in thin, even layers using light, circular motions. Don’t try to get full coverage on the first pass. This will cause dark spots and streaks.
- The first coat will look light and patchy. This is normal.
- Let the first coat dry for 30-60 minutes.
- Apply a second coat, this time moving in long, even strokes (e.g., from toe to heel).
- Repeat this process, applying 2-4 thin coats until you’ve achieved the deep, even color you want.
Step 4: Let the Dye Cure (Patience!)
Once you’re happy with the color, STOP. Do not touch, buff, or do anything else. Let the boots sit in a dry, well-ventilated area for at least 12 to 24 hours. The dye needs to fully penetrate and cure. Rushing this step will result in a blotchy finish.
Step 5: Buff Off Excess Dye
After curing, the boot will have excess pigment on the surface. You must remove this before conditioning or sealing.
- Take a clean, dry, lint-free cloth and buff the entire boot vigorously.
- You will see dye transferring to the cloth. Keep buffing with clean sections of the cloth until no more dye comes off.
- If you skip this, the excess dye will rub off on your pants, hands, or carpets.
Step 6: Condition & Rehydrate (Crucial!)
The stripping and dyeing process (especially with alcohol-based dyes) removes all the natural oils from the leather, leaving it dry and brittle. You must restore this moisture.
- Apply a quality leather conditioner (like mink oil, neatsfoot oil, or a boot cream) to a soft cloth.
- Work the conditioner into the leather in circular motions.
- Let it soak in for 20 minutes, then buff off any excess with a new, clean cloth. The leather’s color will likely deepen slightly, and it will feel soft and supple again.
Step 7: Seal the Finish (Protection)
This is the final step to lock in your work. A leather finisher seals the color, provides a protective topcoat, and gives you control over the final sheen (from matte to high-gloss).
- Choose your finisher (e.g., Angelus Acrylic Finisher or Fiebings Resolene).
- Apply a single, thin, even coat with a clean sponge or cloth. Do not over-apply.
- Let the finisher dry completely according to the manufacturer’s instructions (usually a few hours).
And there you have it! With these steps, you’ve professionally dyed your leather boots and given them a whole new life.
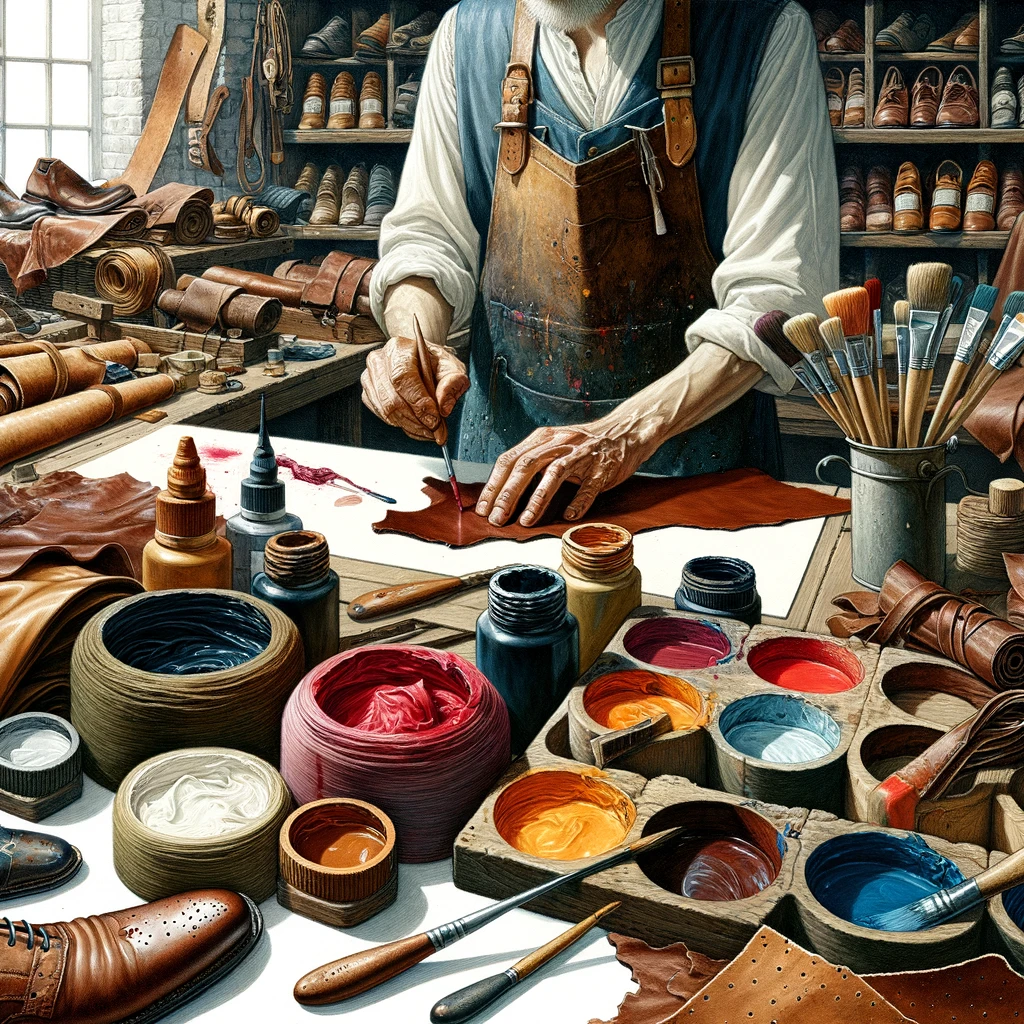
A finished pair of newly dyed leather boots.
Frequently Asked Questions (FAQs)
Q1: Is dyeing leather difficult?
A: It’s not difficult, but it requires patience. The most common mistake is rushing. If you follow the steps—especially preparation, thin coats, and curing—you can get impressive, professional results on your first try.
Q2: Can I dye black boots a lighter color (e.g., brown)?
A: No. Leather dye is translucent, not opaque like paint. You can only dye leather the same color or a darker shade. You can, however, easily dye tan or brown boots black.
Q3: How long does it take for dyed leather to dry?
A: This is a key point! Allow 30-60 minutes between coats of dye. After the final coat, allow the boots to cure for 12-24 hours before you buff, condition, or seal them.
Q4: What’s the best applicator? A brush, sponge, or wool dauber?
A: Most professionals prefer wool daubers for their smooth, even application. Sponges also work well for large, flat areas. Brushes are generally not recommended as they can leave streaks.
Q5: How do I remove excess dye from leather?
A: After the 12-24 hour curing period, you remove excess dye by buffing vigorously with a clean, soft cloth. Keep buffing until the cloth comes away clean.
Q6: Will the dye rub off on my clothes?
A: It will not rub off if you follow two key steps: 1) Buffing off all excess pigment after curing, and 2) Applying a final leather finisher/sealer to lock in the color.
Q7: Can I mix different dye colors?
A: Absolutely! This is a great way to get a custom color. Just be sure to mix them in a separate container (not on the boot!) and always test the new color on a small, hidden area first.